Bike Packing Setup and Tailfin Rack Review
Overview of my bike packing bags, sleep system and my review of my first season with the Tailfin rack
Posted on 27.08.2021
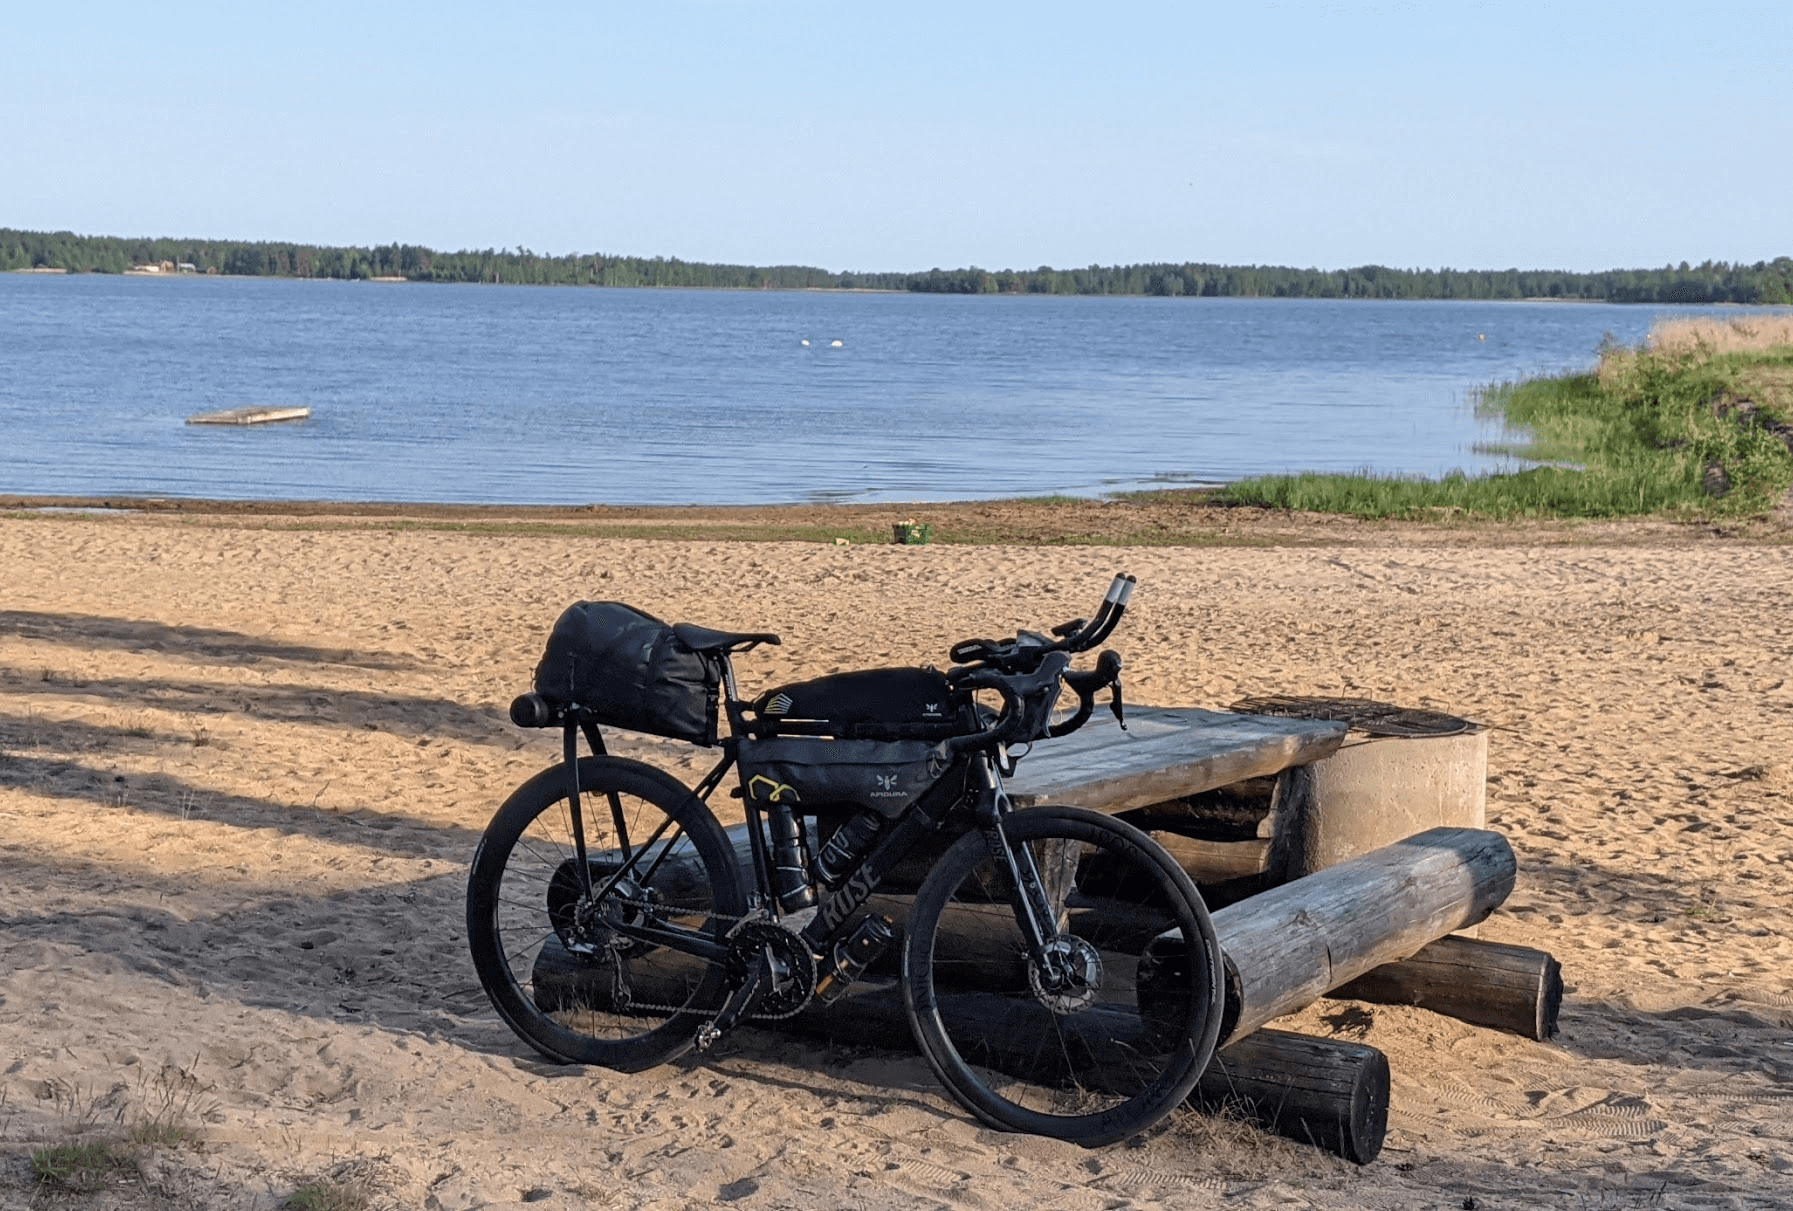
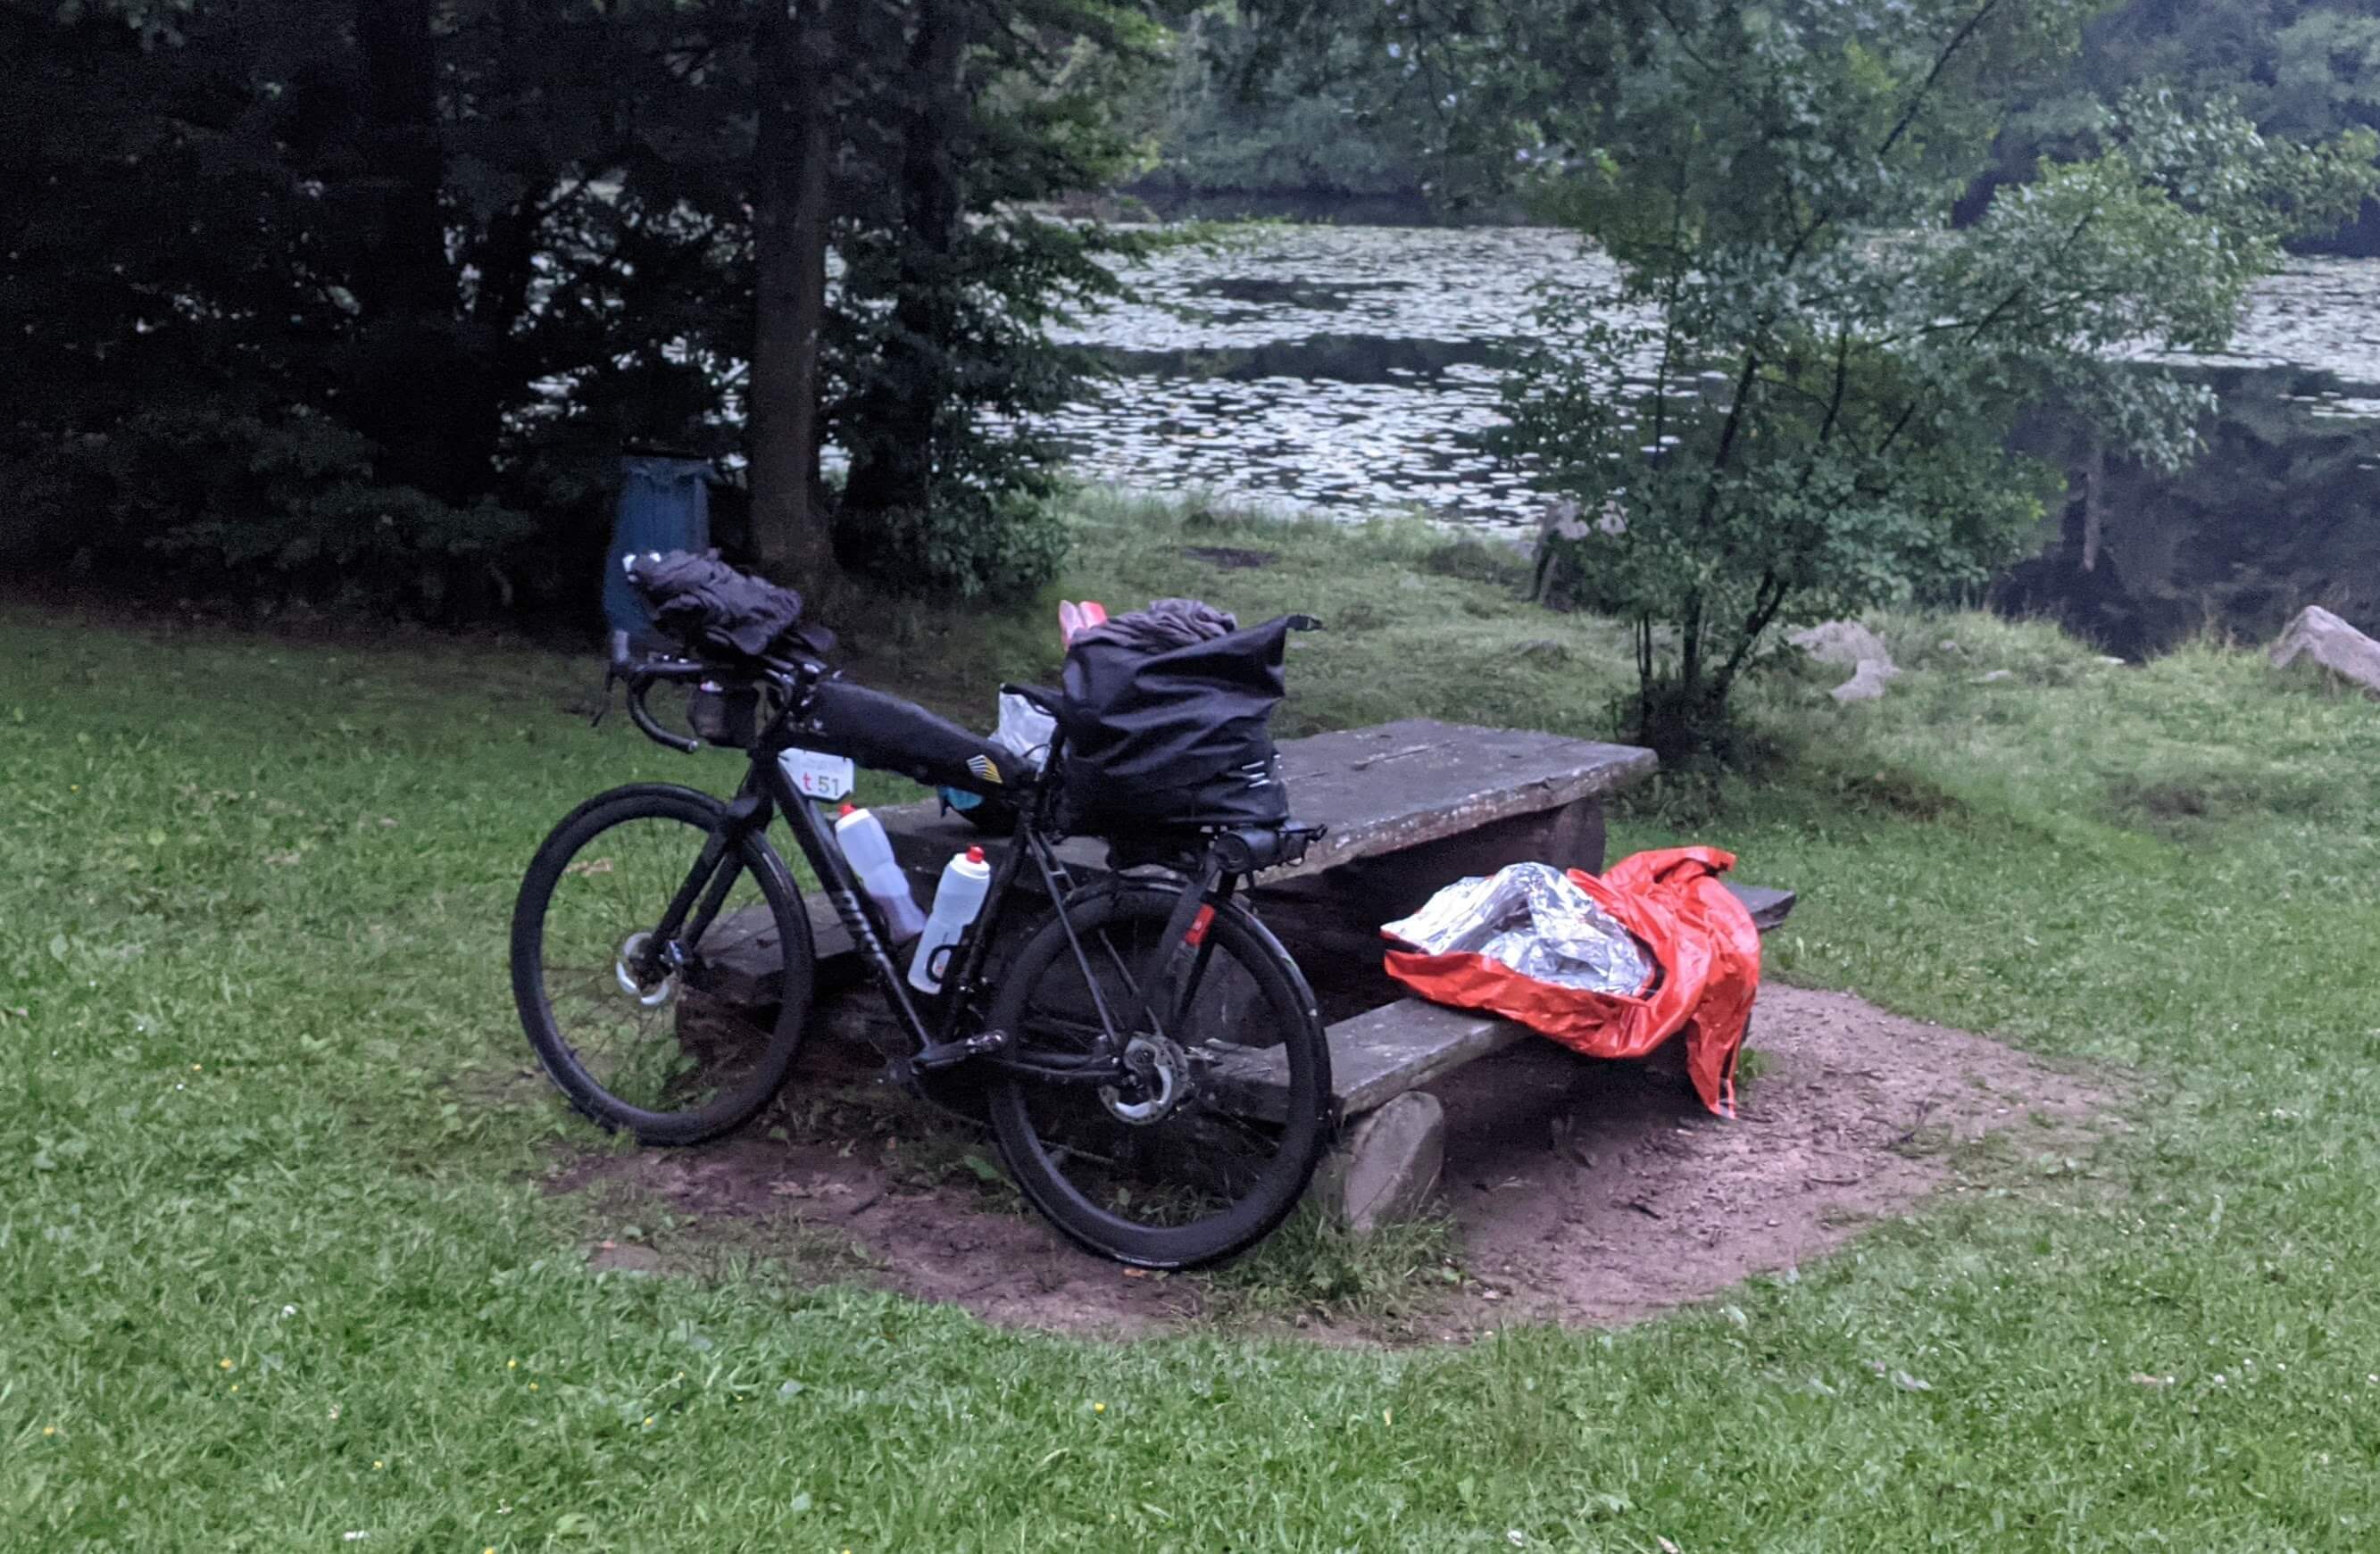
It has been more than two years since I posted a video on my bike packing setup. Since then and especially in preparation for riding the Length of Sweden, I have iterated upon this setup quite a lot. One of the biggest improvements has been the recent switch to a Tailfin carbon rack and trunk top bag.
Previously my bike-packing gear was carried in the Ortlieb handlebar-pack and seat-pack. Now the trunk top bag replaces both of these and after only a few trips, I already know that I never want to go back!
In this post I document the basics of the current setup, consisting of the bags and sleep system, and how I pack it. For that I introduce my sleep setup in detail and discuss different packing techniques and principles before giving a detailed report of my experience with the Tailfin setup and how it compares to the Ortlieb bike-packing bag setup
Sleep system
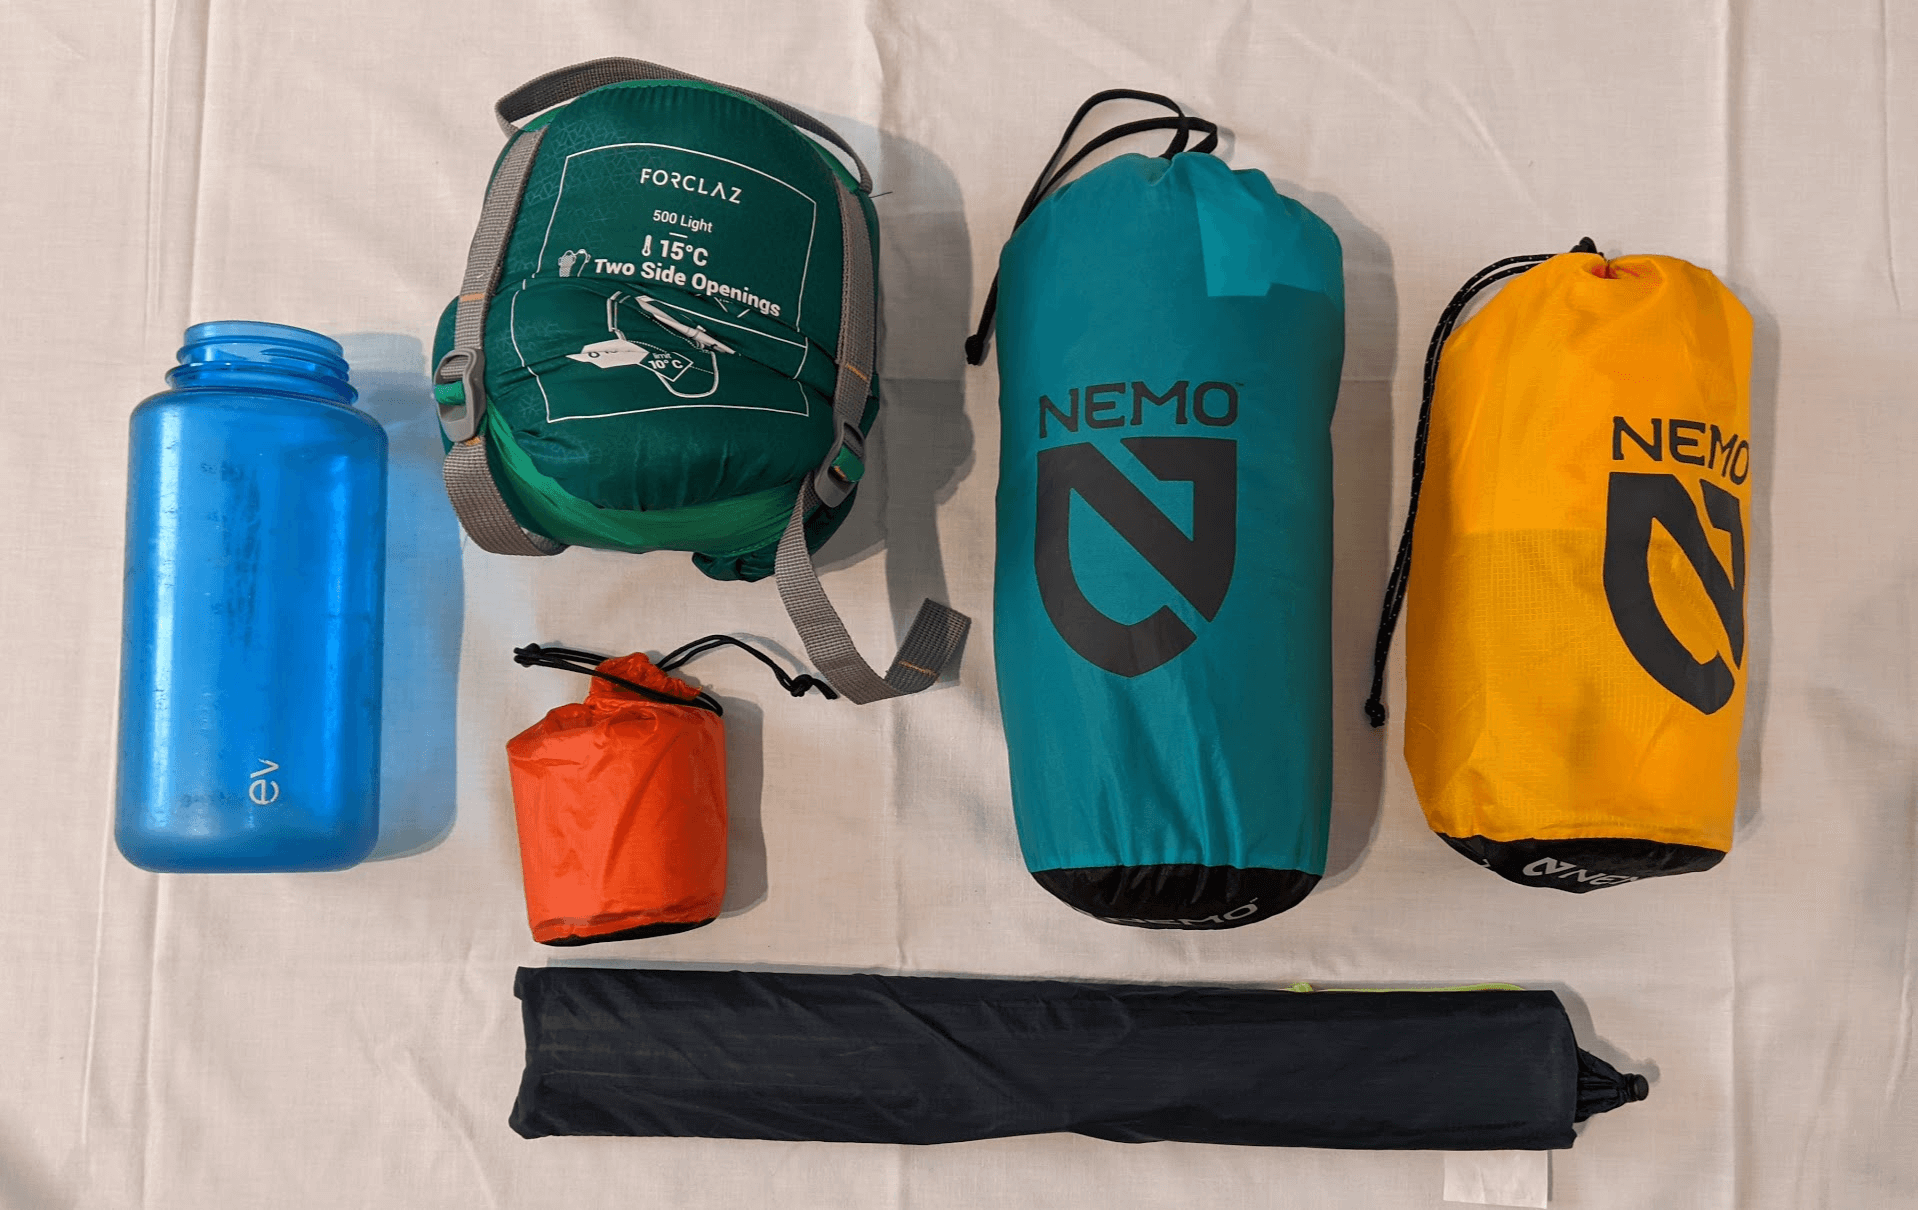
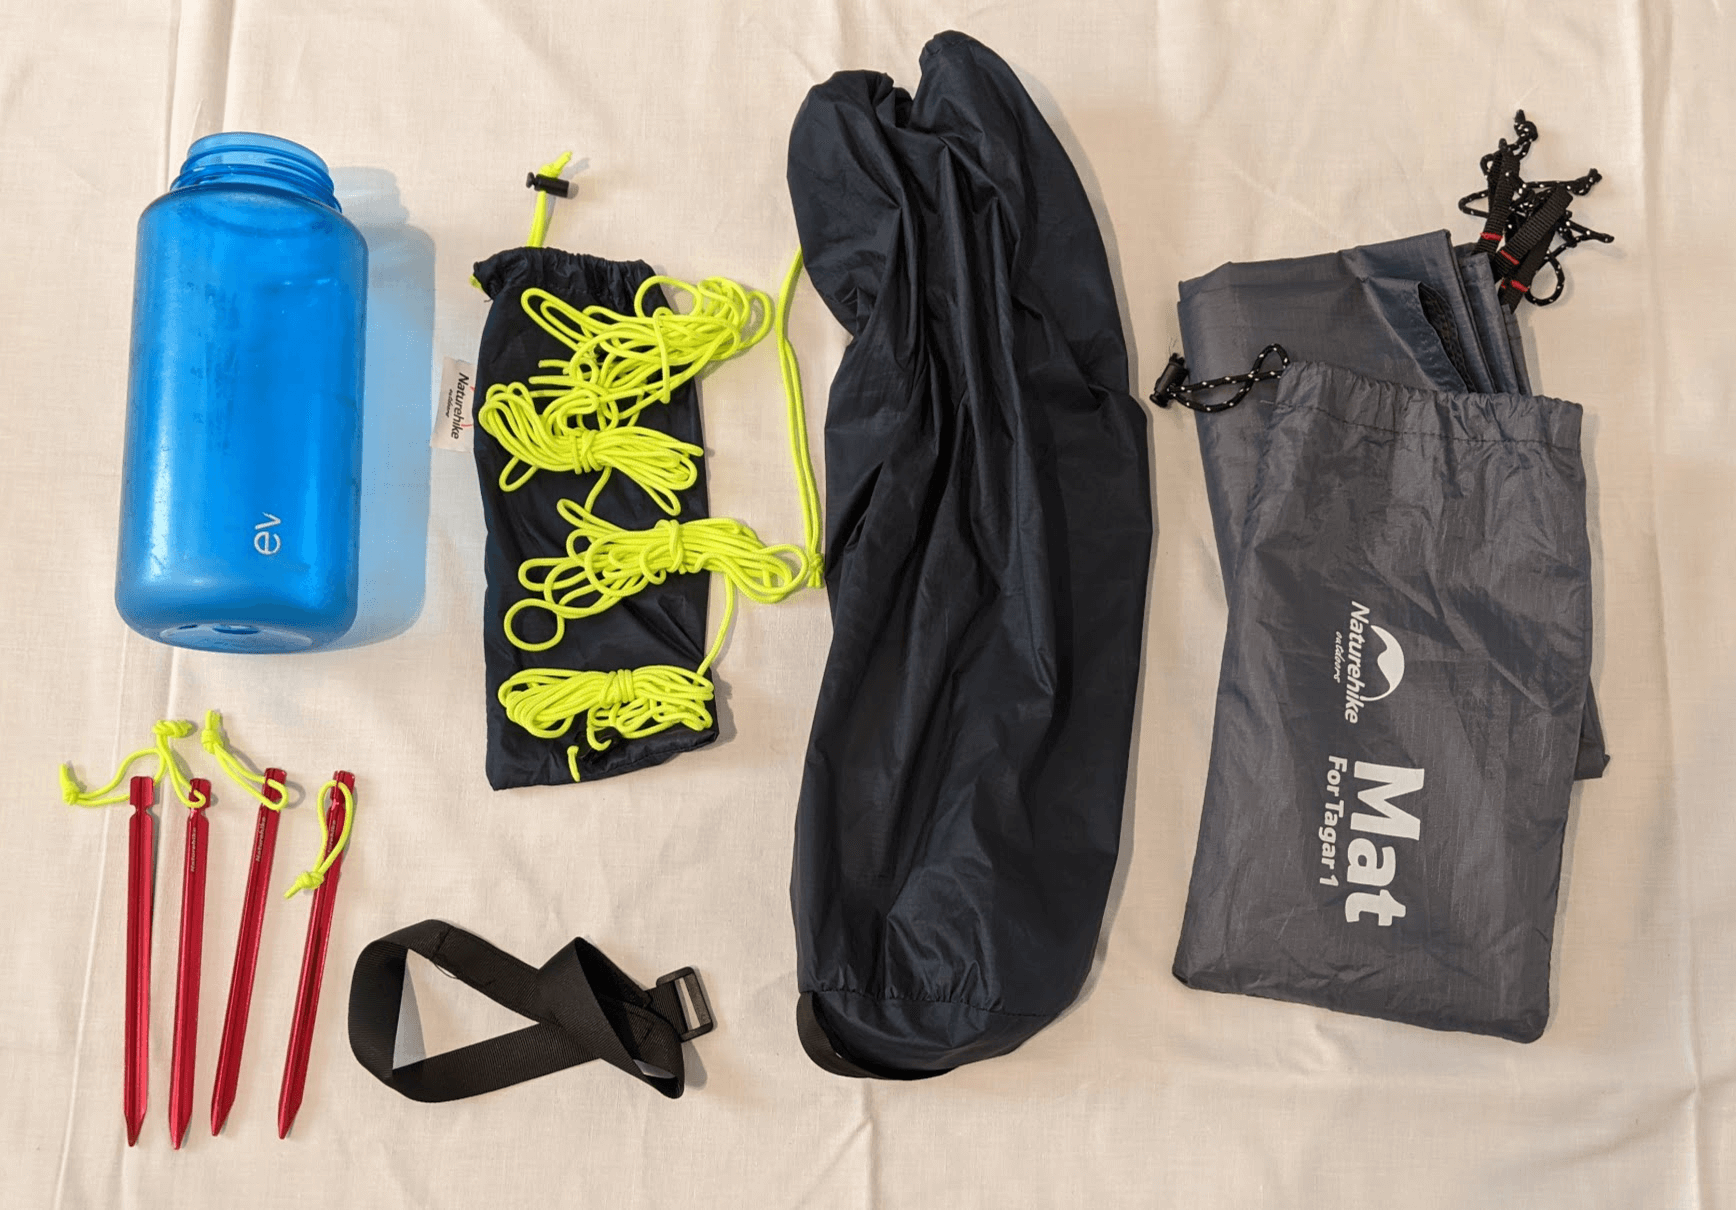
The picture shows my complete sleep system next to a 1 liter bottle for size. From top to bottom and left to right, it shows my sleeping bag, tent body, sleeping pad, emergency bivy and tent poles + pegs.
Tent
Every part of a bike-packing setup is a compromise between weight, pack-size, cost, durability and comfort. The Naturehike Tagar 1 shines in most of these categories. It offers all the comfort I could wish for in an inexpensive, small and light-weight package. Of course much lighter and smaller solutions exist but with much less comfort.
The Tagar is really easy to setup and also packs down easily. I can sit upright in the tent, with enough room for my sleeping pad and bag and some gear. (I am 176cm tall at 68kg) When I researched tents it was the lightest and smallest that would come with this level of comfort at just under 1.2 kg (1165g with 8 pegs and no cords) and fit easily inside my handlebar bag. To achieve the low weight and packing size, the material is quite thin, which probably has an effect on durability and longevity. So far I have not encountered any issues with the tent though. It also comes with an additional ground sheet (not included in the weight) for extra protection.
The Tagar saves a lot of weight and packing size by combining the inner tent and rain fly on large areas of the tent body which affects ventilation. So condensation is an issue in wet and cold conditions. However, this seems to be an issue with each and every one-person tent that I looked at. Wiping the inside and outside with a towel in the morning works well for me, even when camping in the rain.
Sleeping pad
This year I switched to an insulated sleeping pad. I really liked the comfort of the Nemo Astro (green on the left) but especially when sleeping close to the water and after long exhausting days in the saddle, the insulation allows for camping in much colder weather. I upgraded to the Nemo Tensor (yellow on the right).
The R-value of the non-insulated Astro pad is 1.5, while that of the insulated Tensor pad is 3.5. This helps to get the most out of my sleeping bag.
The Tensor is lighter than the Astro in general, but I went ahead and switched to a smaller size as well, going from 710g for the non-insulated Astro in the long and wide size to 425g for the insulated Tensor in the regular rectangular size.
Sleeping bag
For a sleeping bag I use the a cheap decathlon model. It has a comfort rating of 15°C. I managed to get some sleep in it below 6°C, with high humidity and a lot of wind, back with the non-insulated Astro pad and some cycling clothes on. I hope the insulated Tensor sleeping pad will allow me to use it during even colder nights. (I am a cold sleeper though)
Using the included pack sack, the sleeping bag can be compressed quite a lot.


Emergency bivy
For emergency weather situations I carry an emergency bivy with me. It takes up almost no space and weighs next to nothing (108g) but can provide a lot of warmth if the situation gets really dire. Basically a rescue blanket in the shape of a sleeping bag, it is quite popular with ultra endurance riders. I used it during the last night of the Length of Sweden tour for a short nap.
It can be used multiple times if handled with care, but I’d say it is impossible to re-pack it as neatly as it comes out of the box.
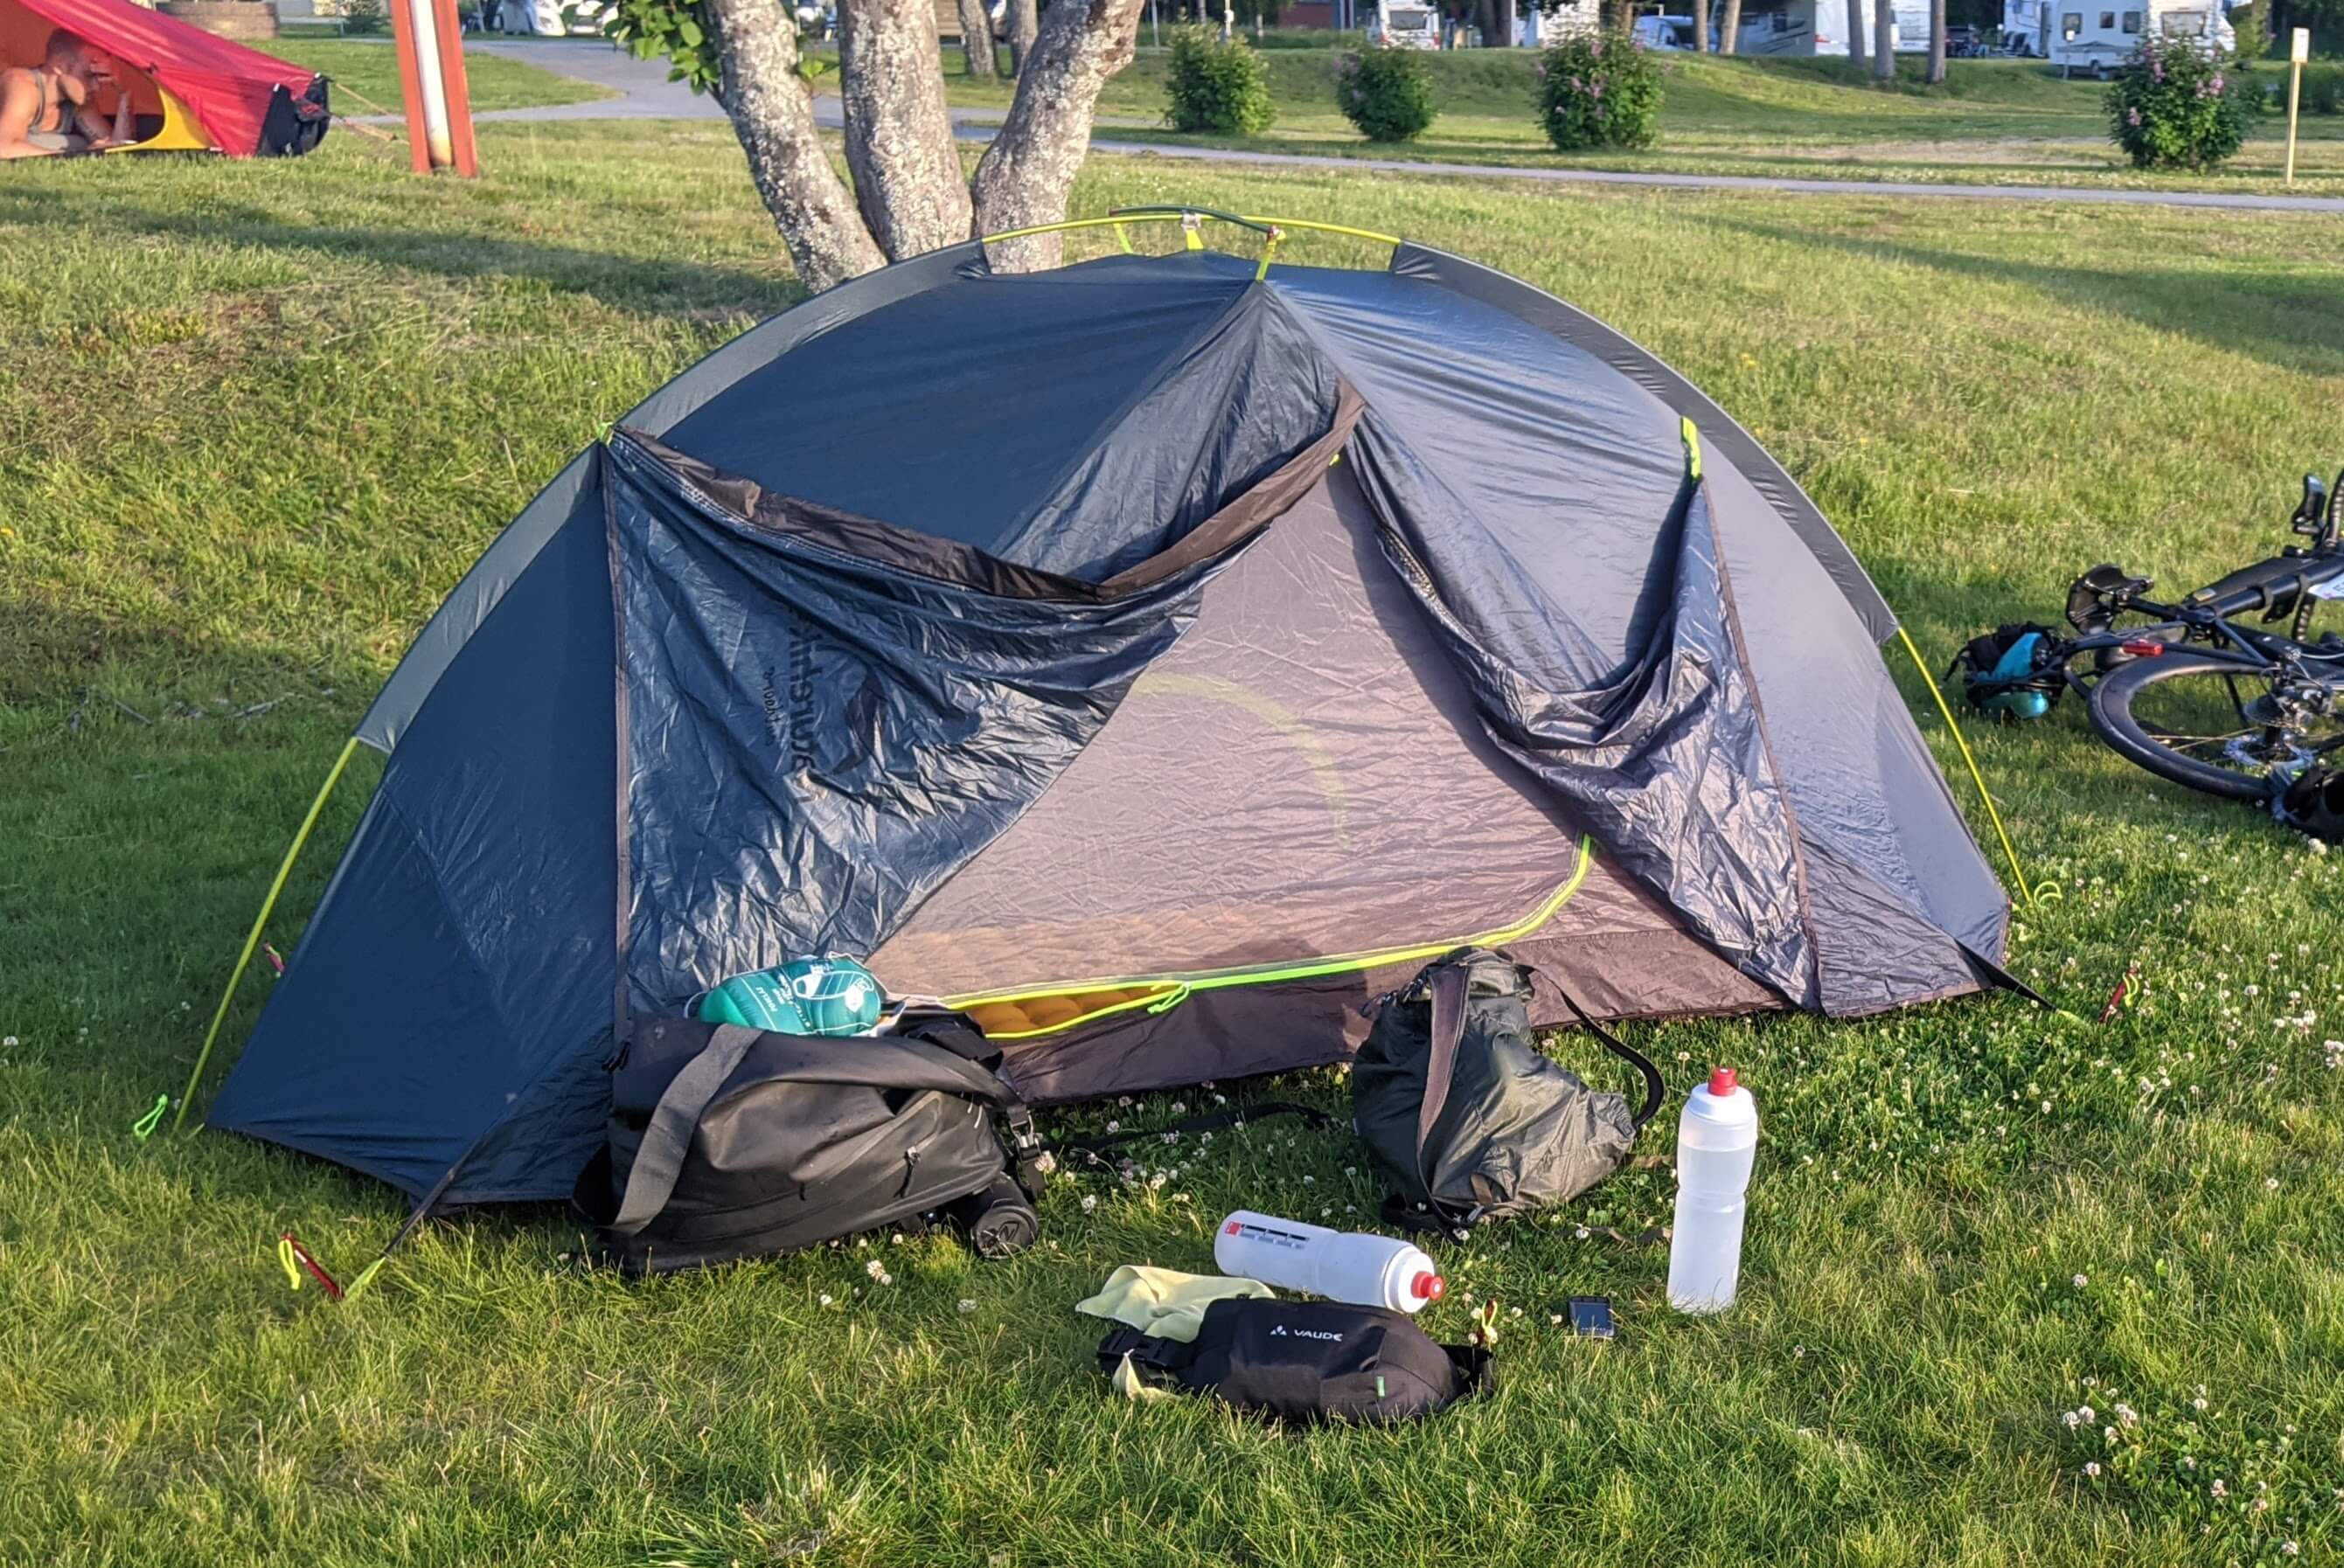
Packing
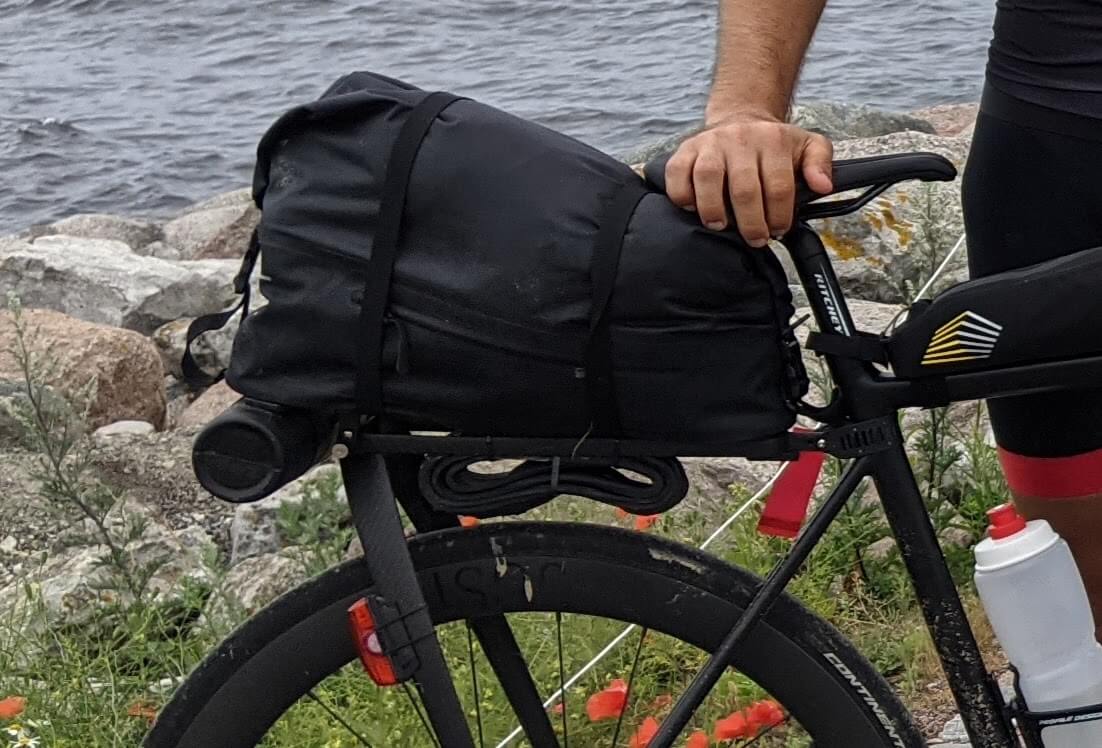
How the system can fit inside the bike-packing bags, depends a lot on the packing. I chose to carry my sleep system (except for the tent poles) in the handlebar bag because I did not want to carry too much weight on the handlebars and the handlebar bag is quite difficult to access during the day, especially when using aero bars. Perfect for the sleep system.
A lot of things are not needed and should be left at home. So far I have never used the tent cords and consequently I can also leave four pegs at home. I often ditch the ground sheet as well and pack the tent body in a smaller pack-sack (the pack sack of my Nemo Astro sleeping pad).
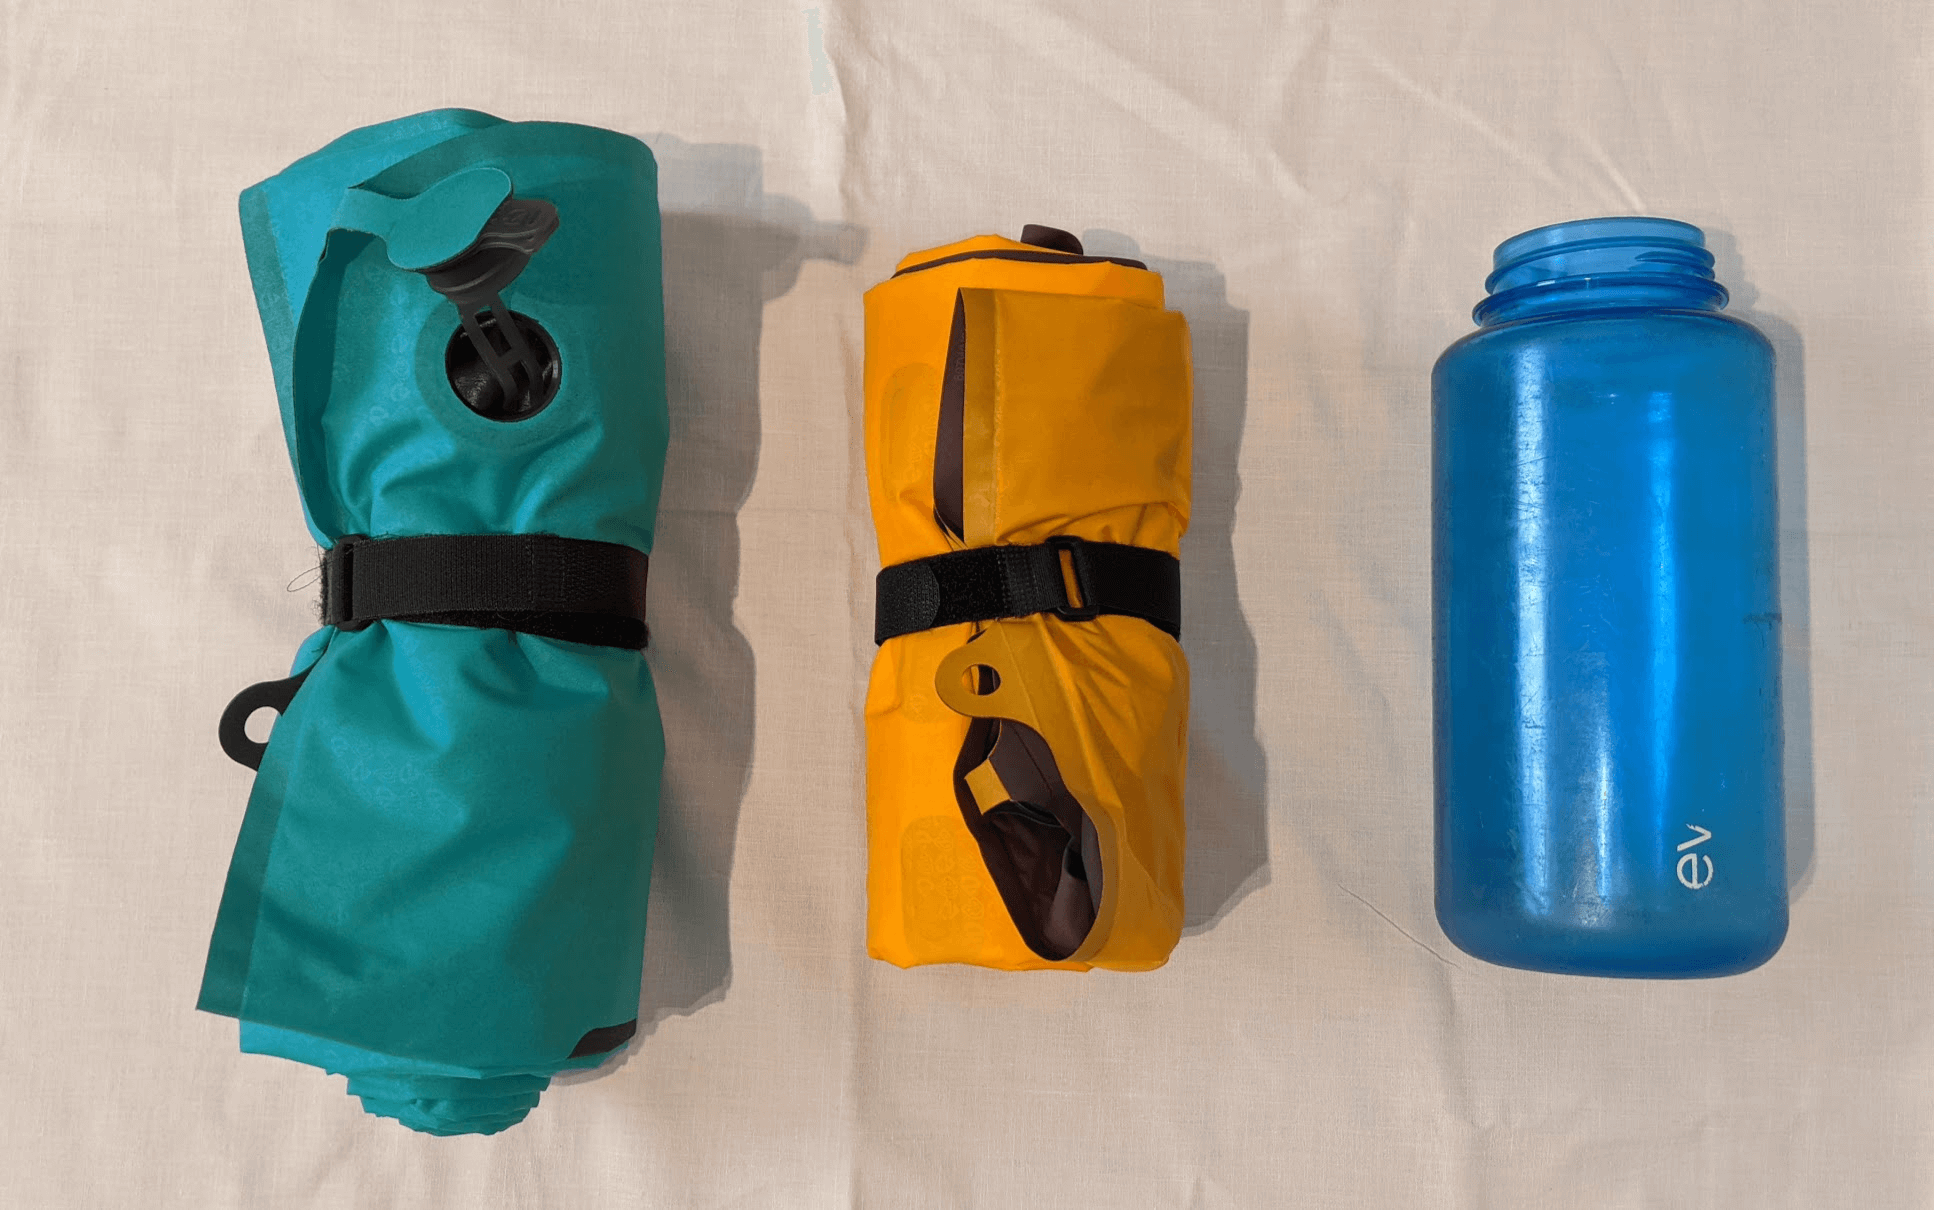
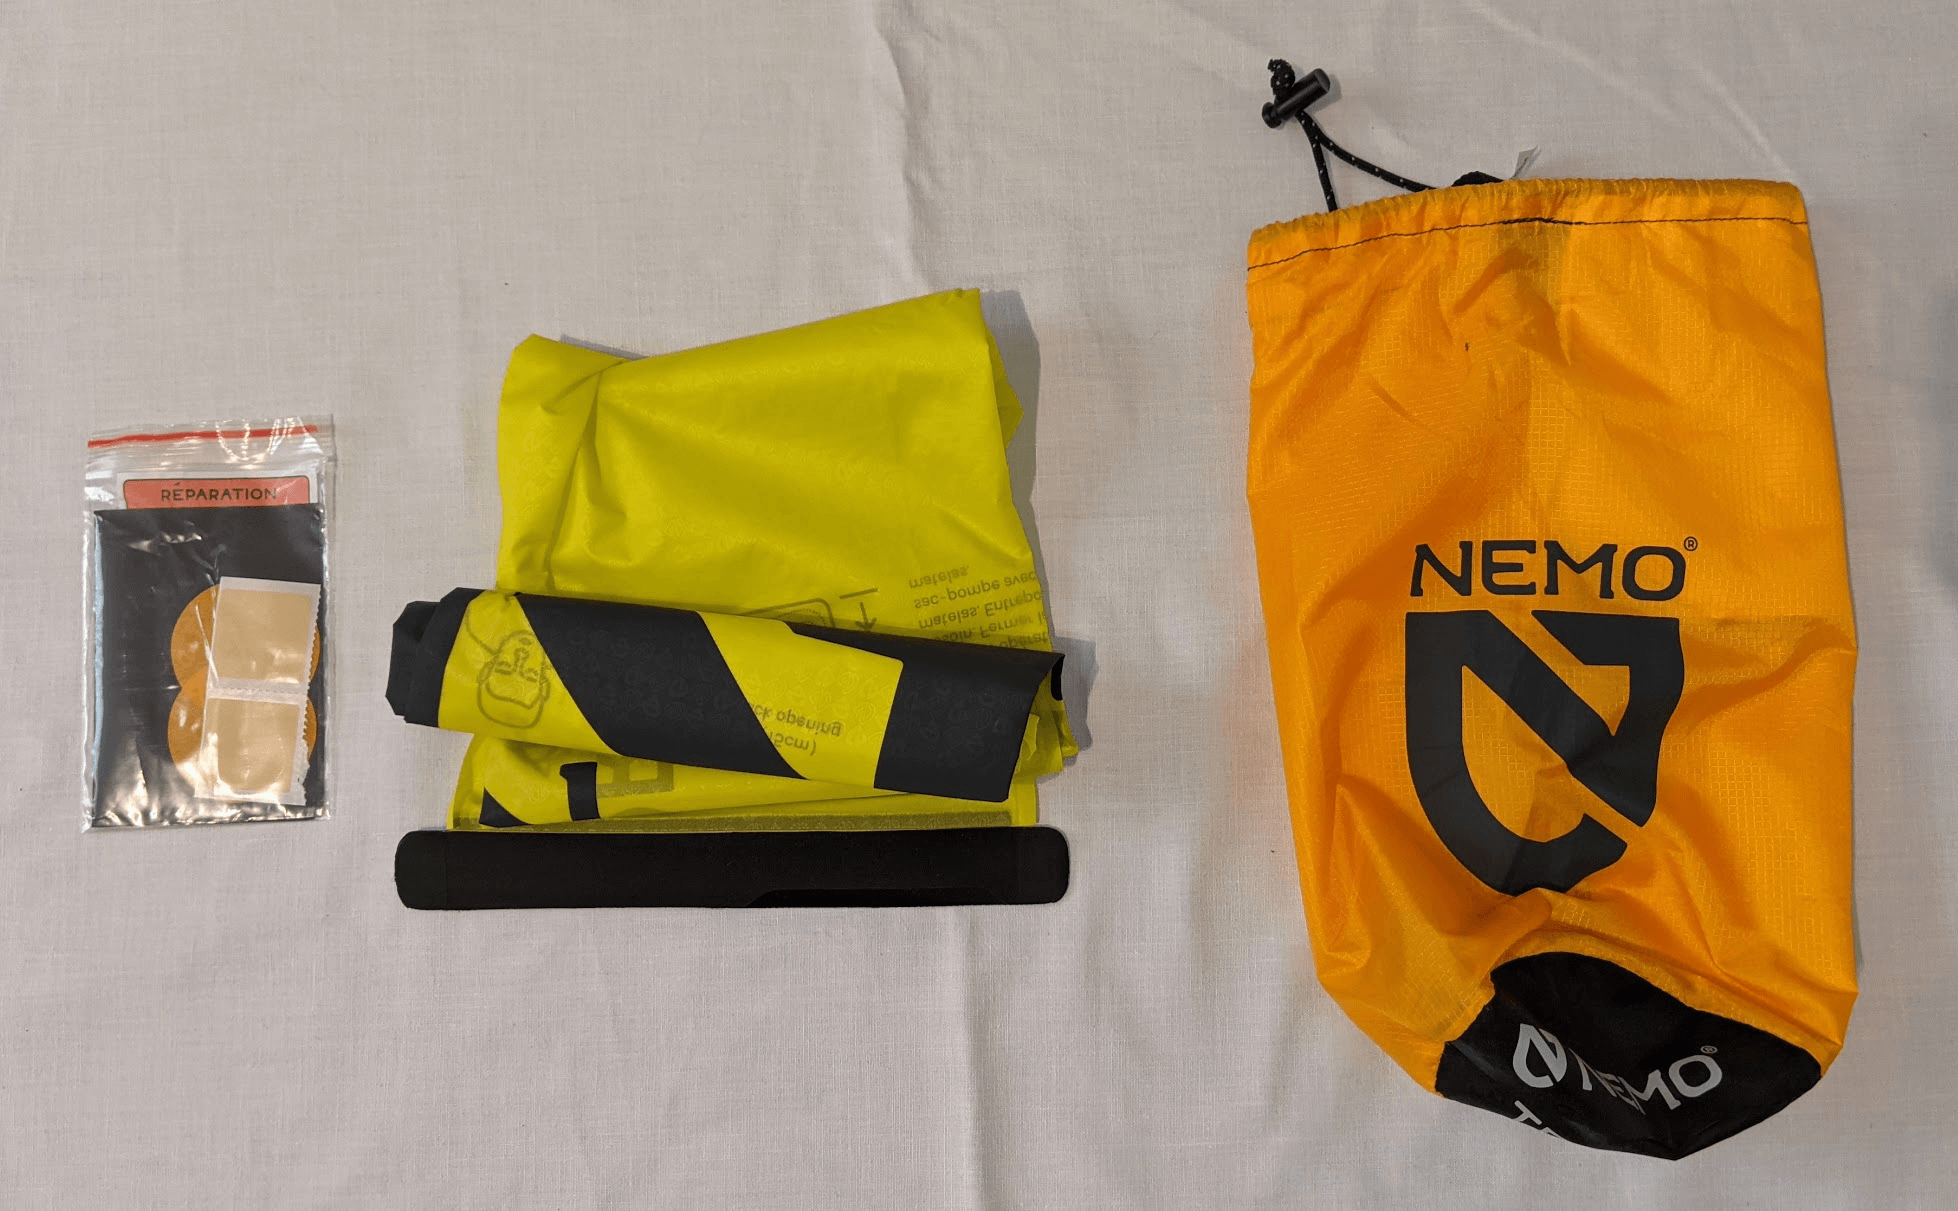
The Nemo Tensor sleeping pad also comes with some accessories. Taking the patch kit (left) is a no-brainer but the pump-sack (middle) is more of a luxury item. For now I have taken the pack-sack (right) and will continue to do so until I am confident enough in the durability of the sleeping pad.
I used to ditch all the pack-sacks but recently figured out how to compress the tent body and sleeping bag using pack-sacks, which makes a big difference in the Tailfin trunk top bag. The trunk top bag even fits the tent poles, which I used to carry in a frame bag. Without a frame bag, they could probably be strapped to the frame in some other way.
The following photos show the Ortlieb handlebar bag with the entire sleep setup inside, first without a pack-sack for the sleeping bag and then with the sleeping bag inside a pack-sack.
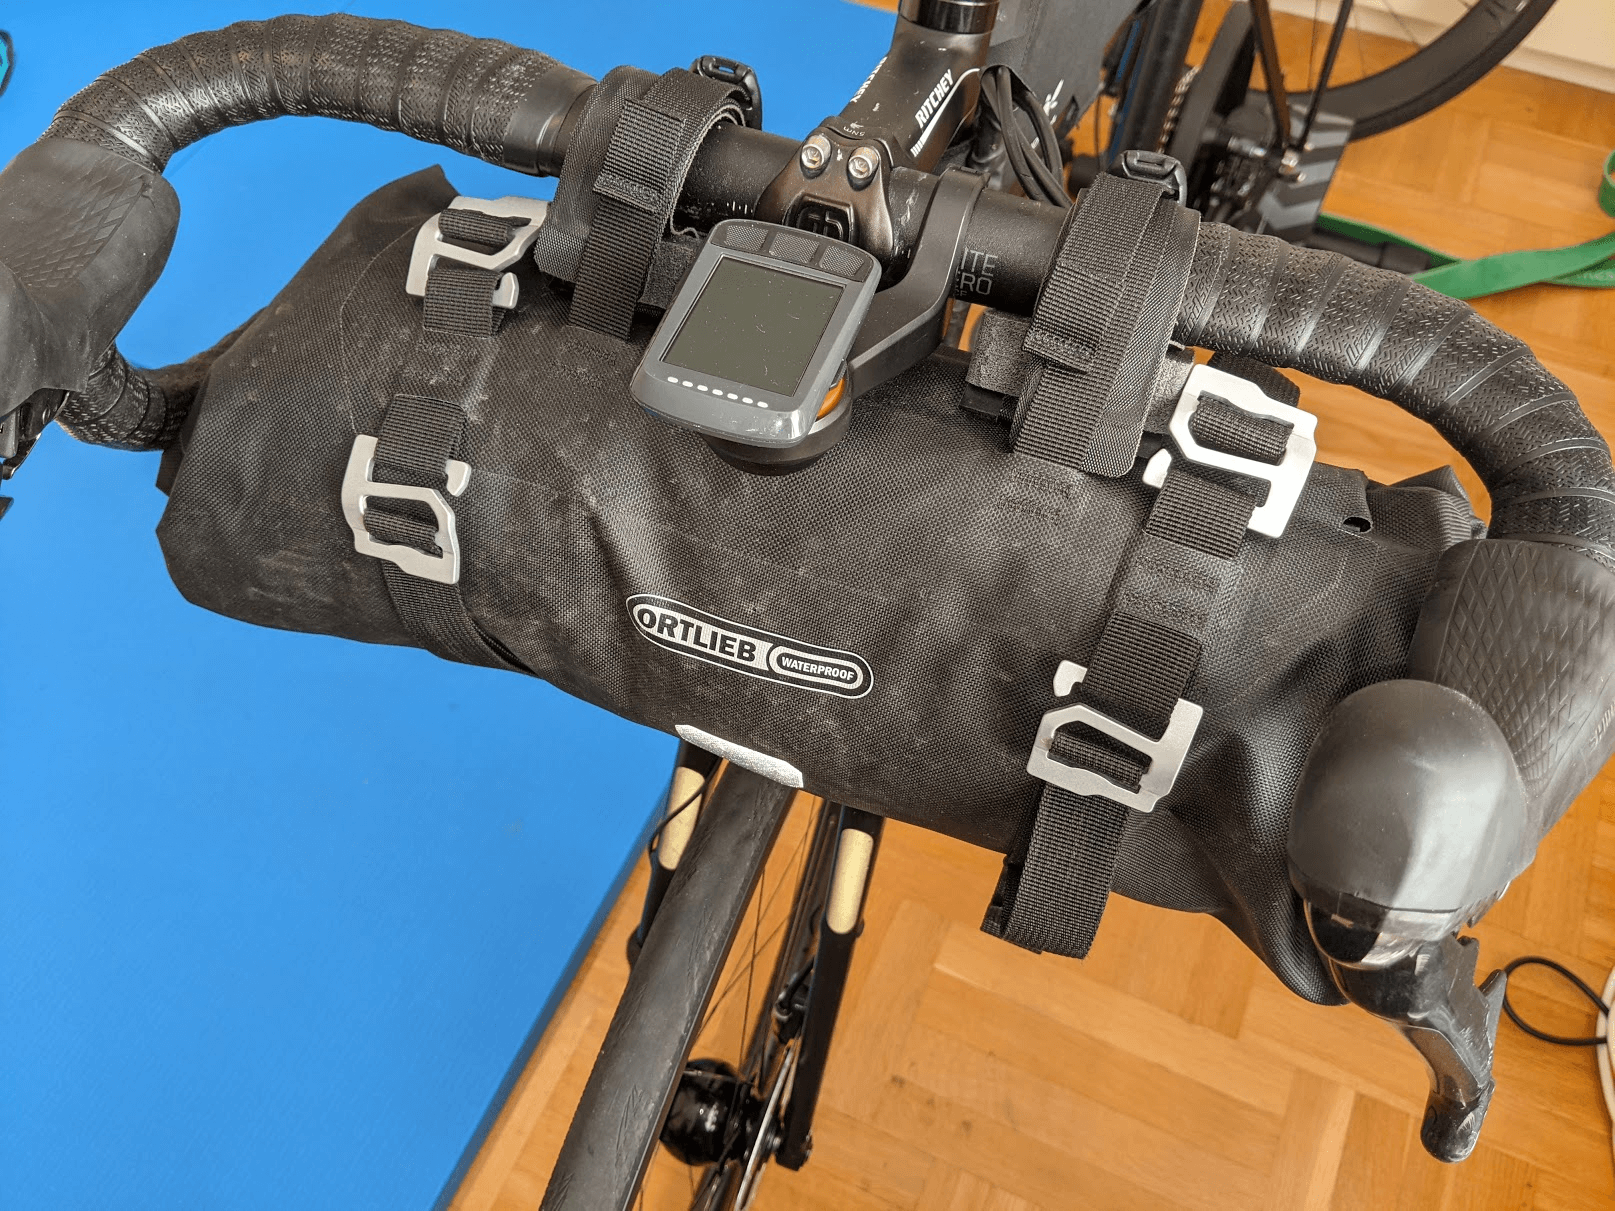
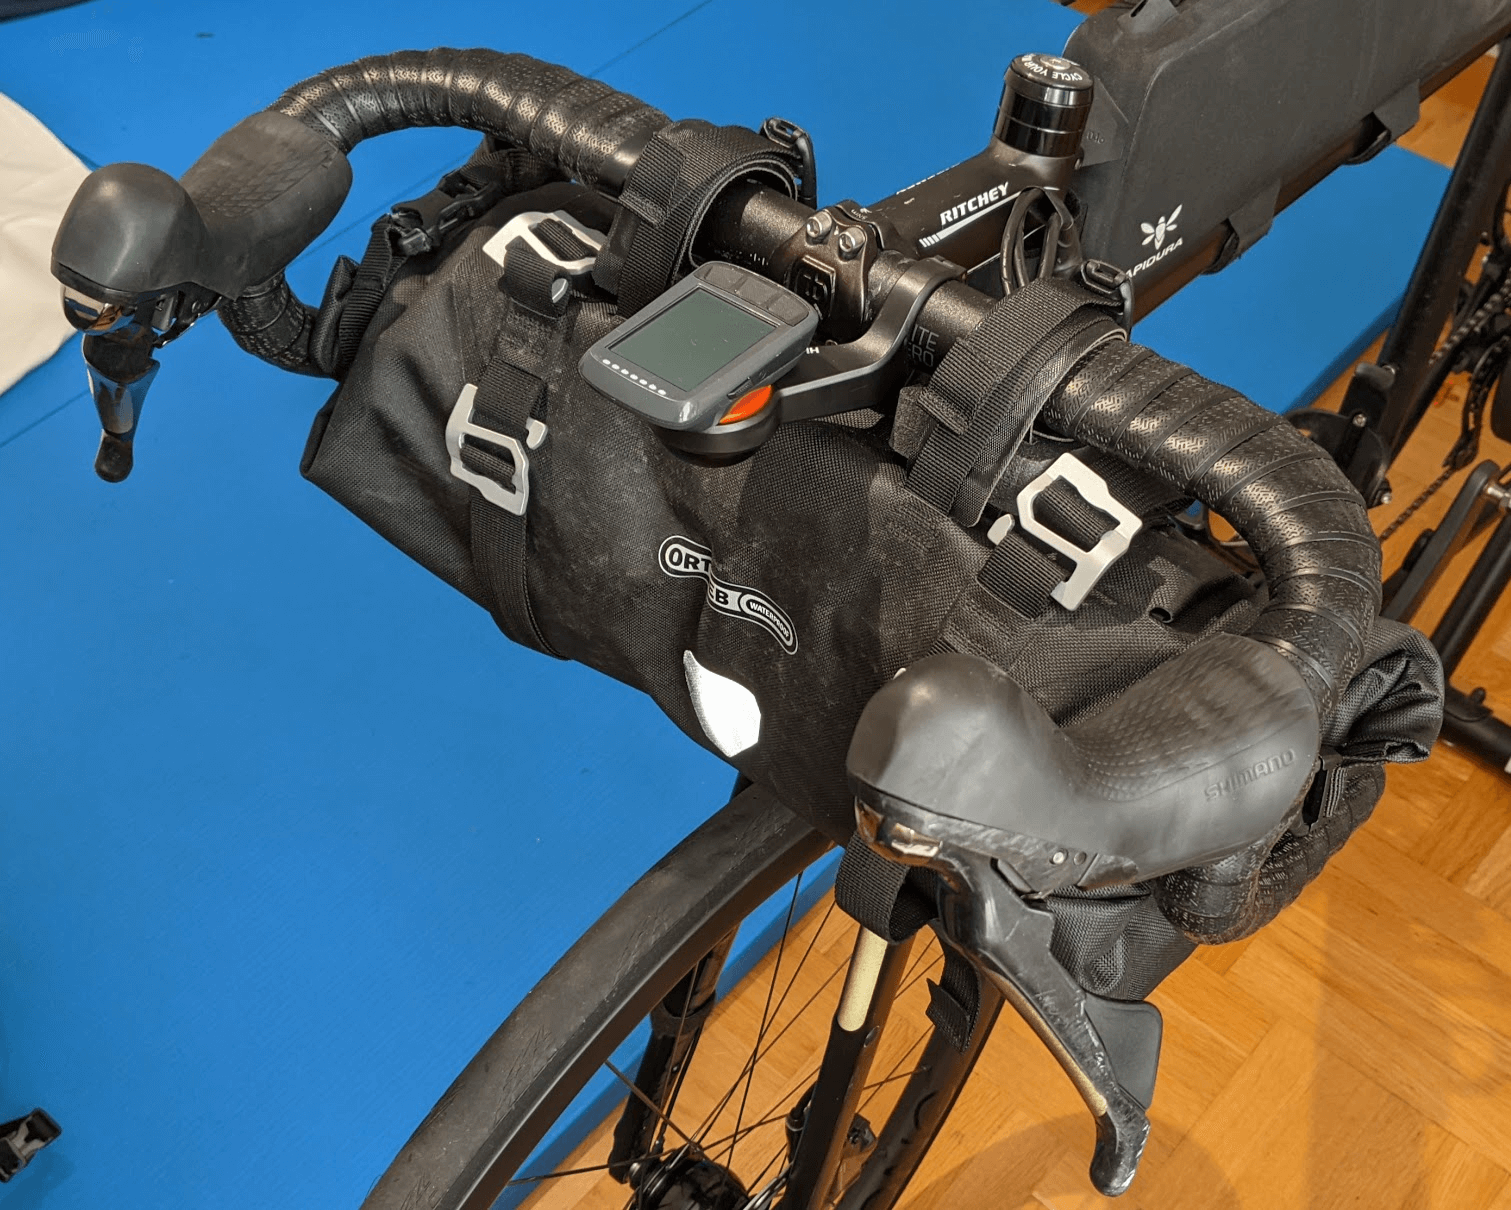
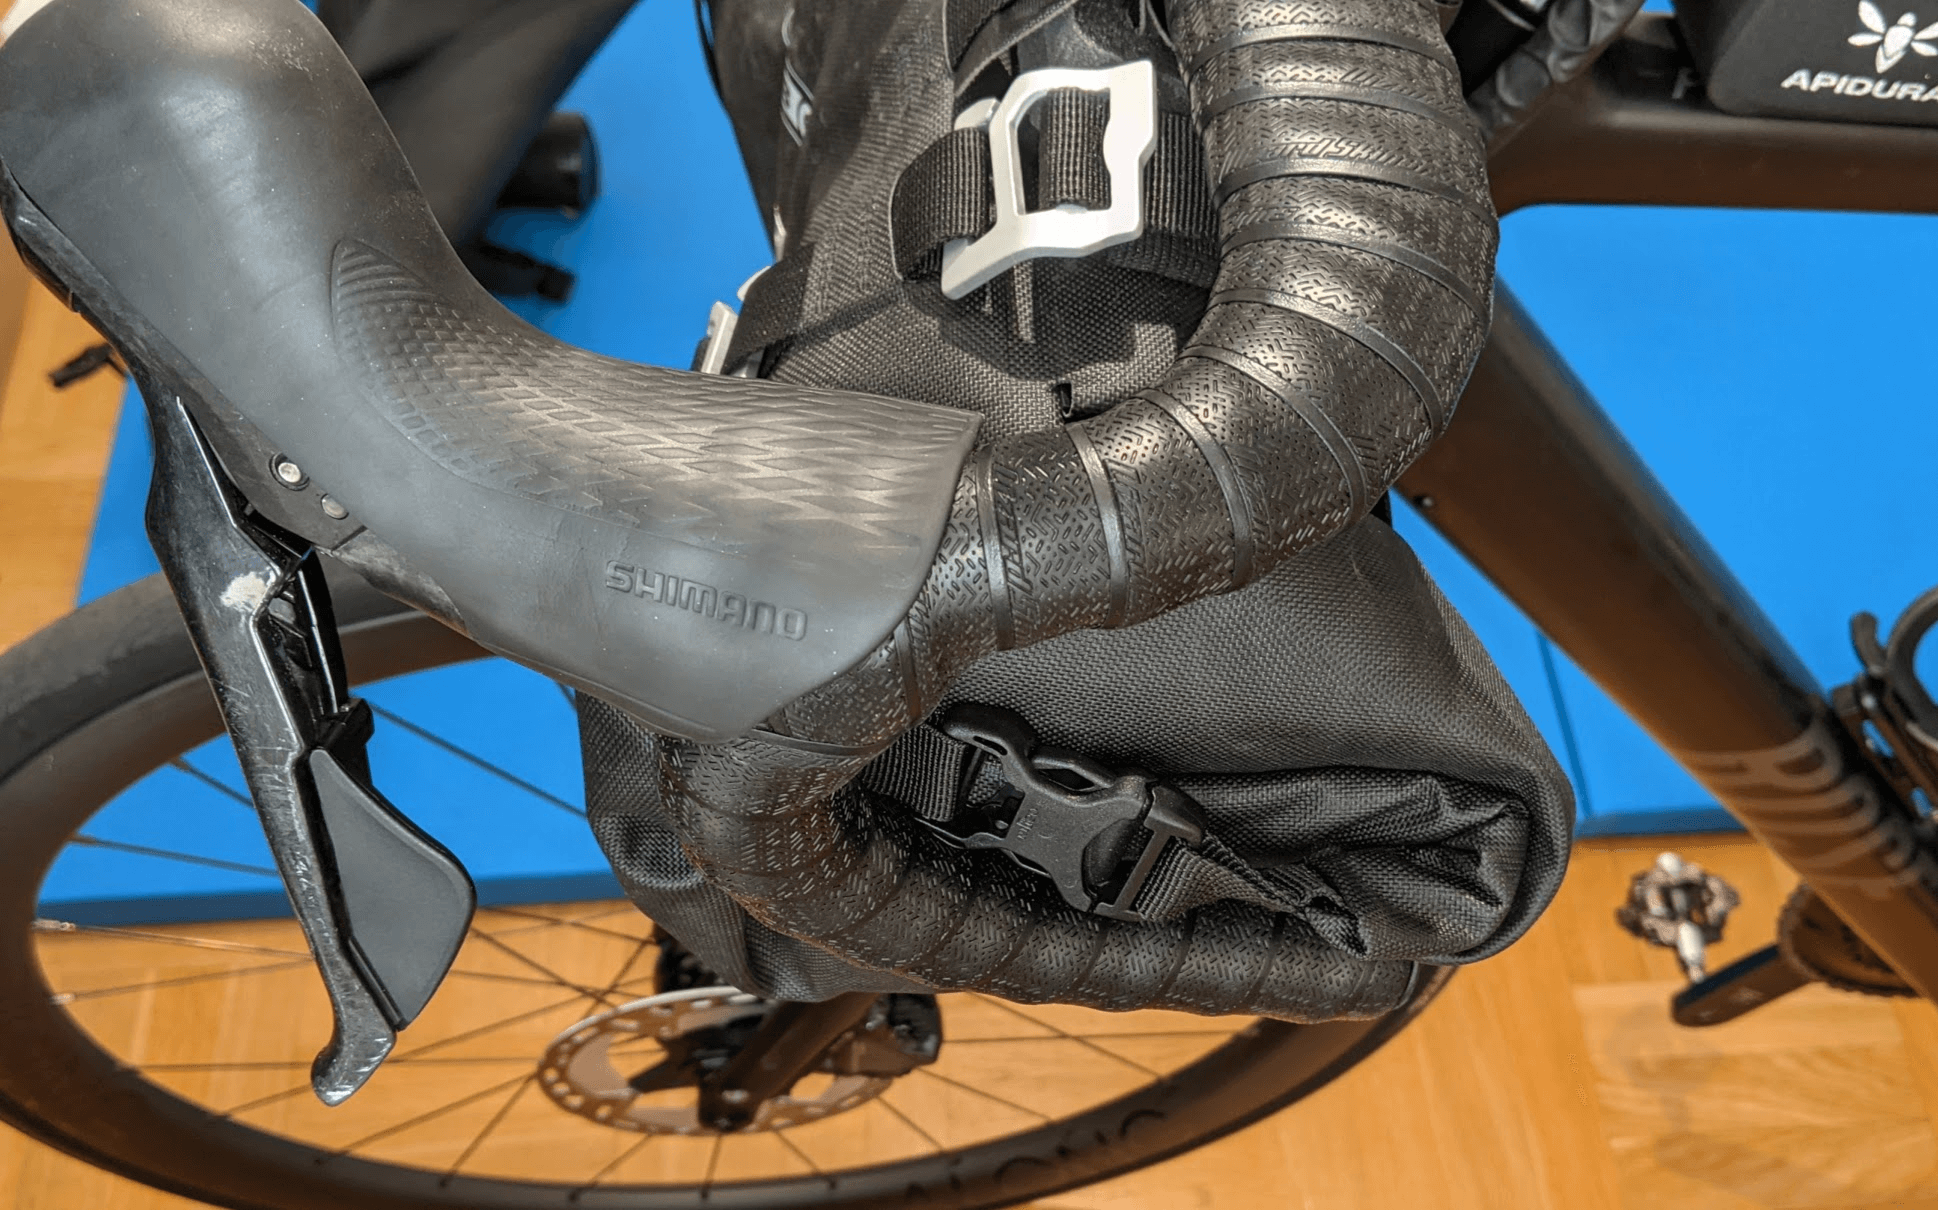
Either way the drops position is pretty much rendered inaccessible by the handlebar bag, which is why I am so happy that I no longer need it with the Tailfin setup. (The handlebar is a Bontrager Elite Aero VR-CF handlebars in size 420mm.)
Tailfin rack & Trunk top bag review
The short version is that I am amazed by the Tailfin rack and trunk top bag. Despite some issues and room for improvement, I would buy the same combination again any time. In the next sections I go into more detail on different aspects of my experience with the setup.
Packing
The biggest advantages of the trunk top bag compared to conventional seat-packs is the ease with which it can be packed. Especially when choosing the rack version over the aero pack, the ability to simply take the pack off the bike increases packability immensely.
I chose the rack and trunk top bag so that I can easily take the bag off the bike when going into a store or storing it in the tent’s vestibule at night. Other configurations of the Tailfin rack will offer a slightly worse versatility but except for the direct frame mount aero pack version, all of them are much better than a conventional seat-pack.
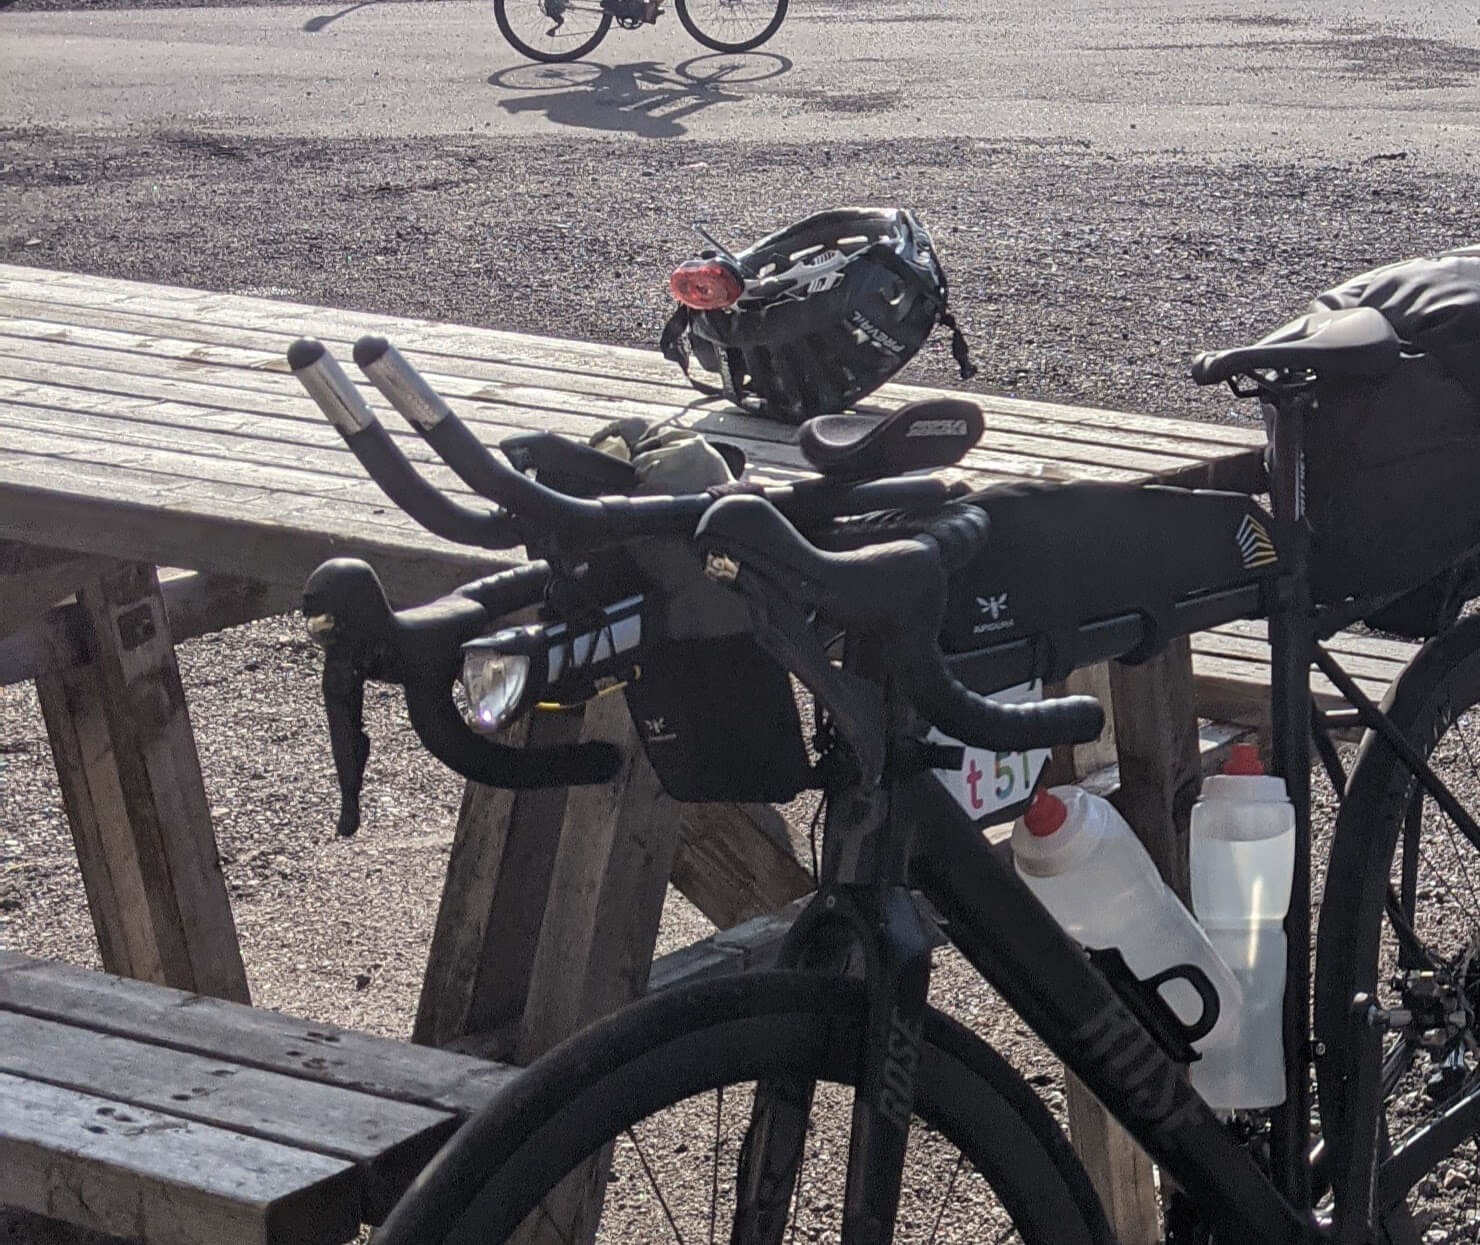
The biggest problem I have with the rack version is the inability to access the bag while it is on the bike. For riders with low saddle heights, like me, the pack is difficult to fit on the rack and can only be accessed properly when off the bike. For the aero pack Tailfin offers an extension to move the bag further away from the saddle. Until this part is also available for the trunk top bag version, only the zipper on the side allows for proper access while the bag is on the bike. Putting my rain jacket, first aid kit and foldable backpack directly behind the zipper, I usually don’t need to open the bag from the top during the day.
On the rear of the trunk top bag I run the Tailfin AP mount and strapped to that, with some zip ties, I have a tool bottle which holds almost everything I need to repair my bike on the road. The only thing that does not fit into the bottle is a spare tire, which I strap to the top stays of the Tailfin rack.
How much does the trunk top bag/aero pack actually fit? This picture shows my entire sleep system in the bag.

There is still a lot of room for other stuff. To provide some perspective, I tested how many cotton T-Shirts I could stuff in there on top of my sleep system. The answer is 14 size M T-Shirts!
Riding comfort
Compared with a conventional seat-pack, the trunk top bag sits rock solid behind the saddle. It’s almost like riding without any bags, but with a 1-2 times heavier bike than usual. 😅 The rack is in a completely different league than seat-packs, like the Ortlieb one I used before.
Still, the biggest improvement in riding comfort has to be the removal of the handlebar-pack. I am able to fit almost everything that previously went into the handlebar-pack and the seat-pack into the trunk top bag and thus got back a lot of previously blocked hand positions and handling comfort.
Modularity
The very important bit of information I was missing in all the reviews I looked at, when deciding for a Tailfin solution, was the modularity of their products.
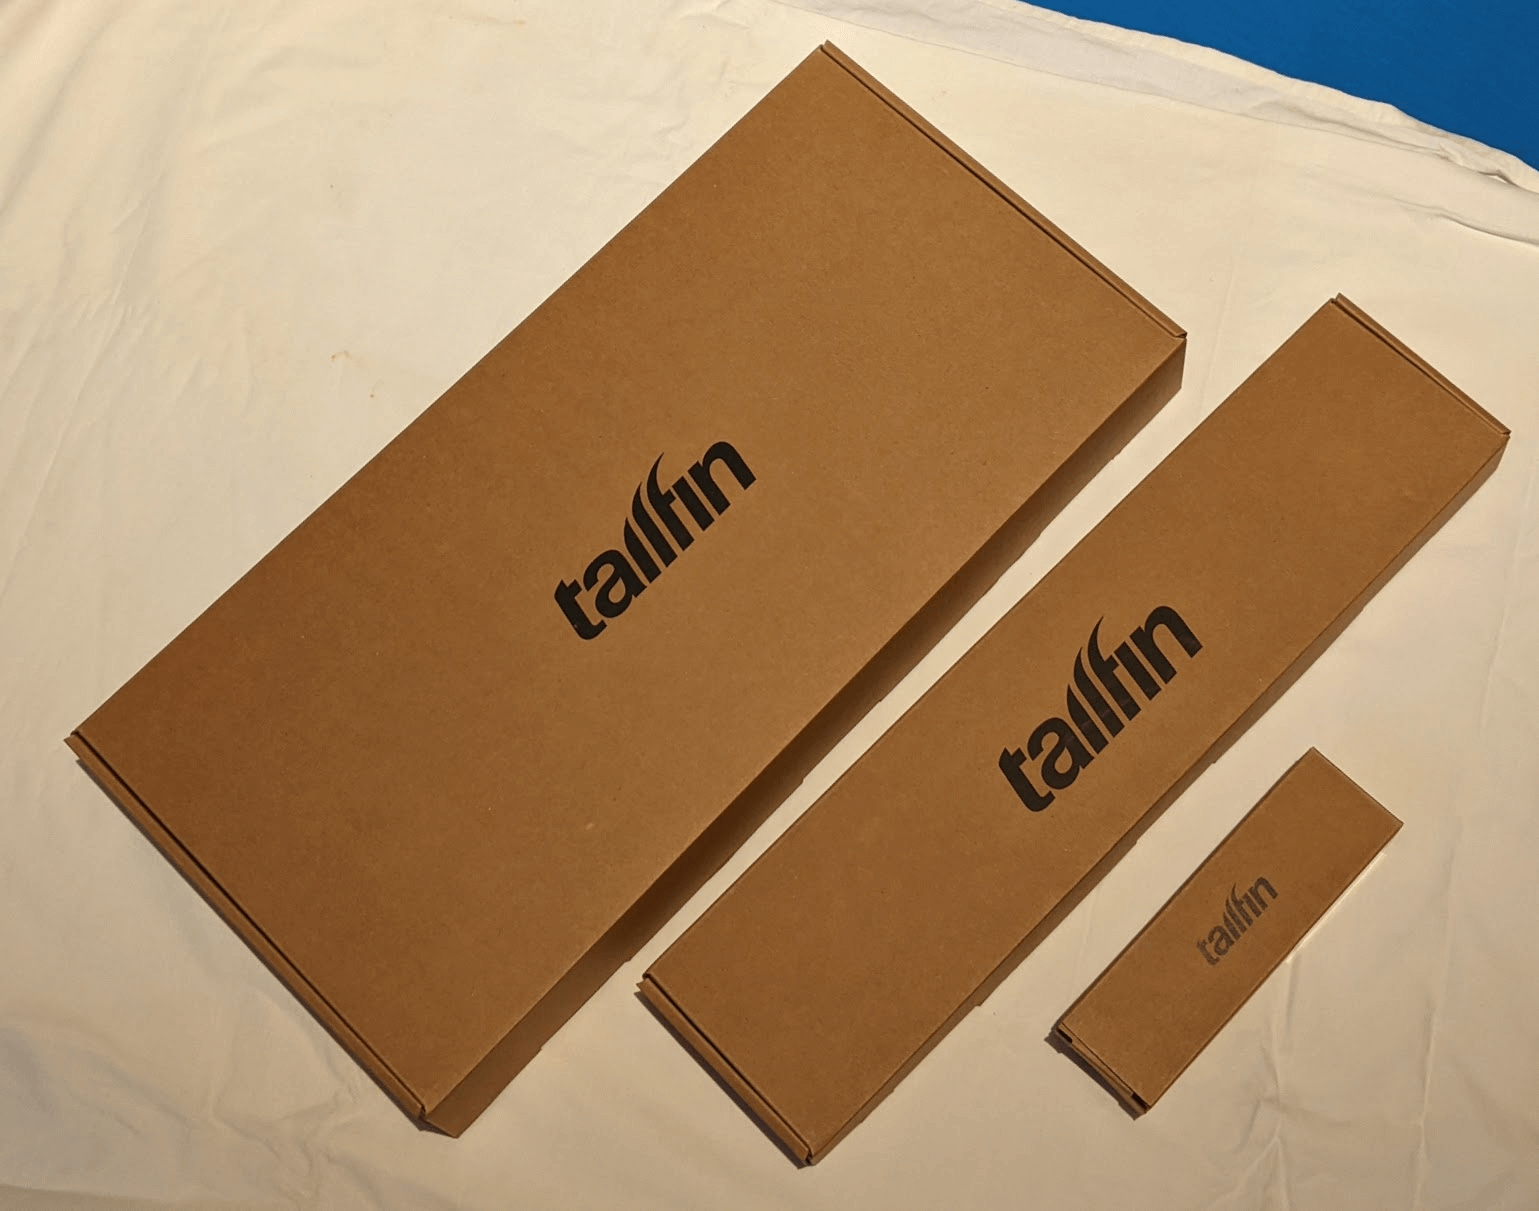
The configured Tailfin setup gets delivered in a bunch of boxes to assemble at home. If one has bought the S-rack without pannier mounts and later on has the need to use pannier bags, the purchase of the right arch transforms the S-rack into an X-rack. The same goes for the aero pack. It can easily be converted to the rack + trunk top bag setup like I have it with an adapter and the top stays.
What held me back from investing in the Tailfin rack for my first bike packing trip was the fact that I did not know what setup I would really need down the line and the high price for the most versatile setup (5 754 SEK for the X rack carbon + trunk top bag).
Knowing what I know today, I would have never bought the Ortlieb bags in the first place. I spent 2 615 SEK on my Ortlieb handlebar bag and seat pack while I could have gotten the Aero pack alloy for 2 223 SEK or the carbon version for 2 812 SEK. (These prices are for the frame mount options, since my bike has the mounts for that)
Functionally the Aero pack should be quite comparable to the Ortlieb bags, as in difficult to put on and take off the bike and not so nice to pack while on the bike. (But with much improved riding comfort)
The S-rack and trunk top bag combination has proved itself perfect for my trips this year. However, I would consider buying the alloy arch with pannier mounts if Tailfin finally releases a laptop bag like the modified THULE ones they have provided to some YouTubers. The additional weight of the alloy arch will be negligible when if I am carrying around a heavy laptop.
Quality & Durability
So far I have only taken the setup on a hand full of trips and have not had any durability issues. However, I still have noticed a few flaws.
Trunk top bag mounting mechanism
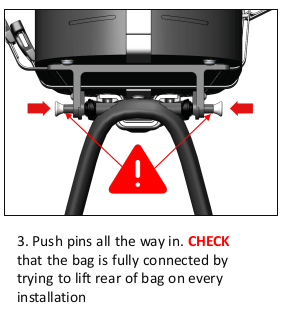
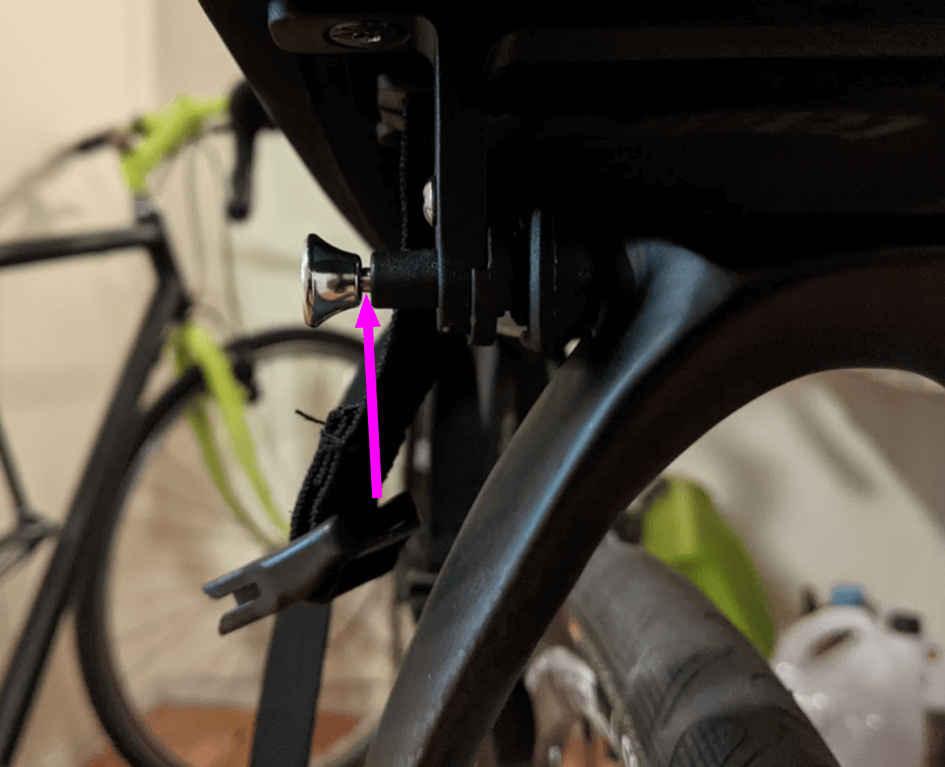
I quite dislike the mounting mechanism for the trunk top bag. While it is quick to open and close, this comes at the expense of not knowing whether the bag is properly connected or not. The instructions suggest to press the pins in further than to the point to which they can physically be pressed in and check whether the bag is secured, by lifting the bike by the rear of the bag. Following this procedure I still managed to loose the trunk top bag riding over a pothole, resulting in some scuffs to the bag that impair the waterproofness. Luckily no one was riding behind me when the bag hopped of, otherwise my flying trunk top bag would have probably knocked out the entire group… My guess is that this happened because the pins were not fully pushed in and I could was able to lift the bike by the back of the bag because there was no clearance to the saddle. 🤷
I would wish for such a crucial mechanism to be designed such that it is clear whether it is open or closed. The pictures below show how the instructions suggest the pins should look and how it looks in reality… Tailfin confirmed to me that this is as far as they go in.
Furthermore, the plastic washers on the mounting points are quite flimsy while connecting the bag and don’t appear to be very durable.
Frame mounting hardware
I ordered the S-rack with the frame mounting option, which means I received a bag of screws and washers and instructions on how to figure out the right configuration for my frame. However, this bag did not contain screws that would fit my frame. All of them would either not reach the threads in the frame (20mm) or would be so long that they would press against the back side of my seat stays (30mm).
This is a minor issue but for such a premium product I would have appreciated one more pair of screws in the right length (25mm).
Bonus: Additional Bags
To tell the entire story on how I carry all my other bike-packing gear, here are the other bags that I have and what I pack in them. I recorded a video on my Length of Sweden setup that I hope to publish soon, which will go into more detail.
Top tube pack
I carry most electronics and security items (alarm and lock) in a 2l Apidura top tube pack.
Frame pack
In colder weather, when I need to carry more clothes, I take a 5.3l Apidura Expedition frame pack. Frame packs can be tricky to fit with bottle mounts. I will either carry less water or strap an additional bottle to the bottom of the down tube with the SKS anywhere.
Food pouch
As the name suggests, I use the 1.2l Apidura food pouch for food storage to be accessed during the day. It fits neatly between the aero-bars and the side pockets are great to safely store any wrappers or other scrap in between stops.
Fanny pack
I keep all important stuff like phone, money, keys, hygienics in a Vaude Tecomove II fanny pack so that I don’t have to take them out of the bags during every stop. The pack is not waterproof, so most stuff is in plastic bags.
Foldable backpack
To carry food from the last supermarket stop to the camp side I use an Osprey Ultralight Stuff Pack.